How to Go Live from Your Mac
 Julia EskinUpdated
 EventLive for Mac lets you go live from a MacBook, iMac or Mac mini without OBS or stream keys. Use the Mac's built-in camera, a USB webcam, a professional camera through an HDMI capture device, or your iPhone, and switch between cameras and microphones while you're live. The app is free; you pay for events the same way as in the EventLive phone app.
Download and install
- On your Mac, go to eventlive.pro/mac and click Download for Mac.
- Open the downloaded file and drag EventLive for Mac to the Applications folder.
- Open EventLive for Mac from Applications. If macOS asks whether to open an app downloaded from the internet, click Open.
- Sign in with the same account you use in the EventLive app or on the website. Your events are all there.
EventLive for Mac needs macOS 14 Sonoma or later, on a Mac with Apple silicon or an Intel Mac from 2018 or later. See the full system requirements.
Go live
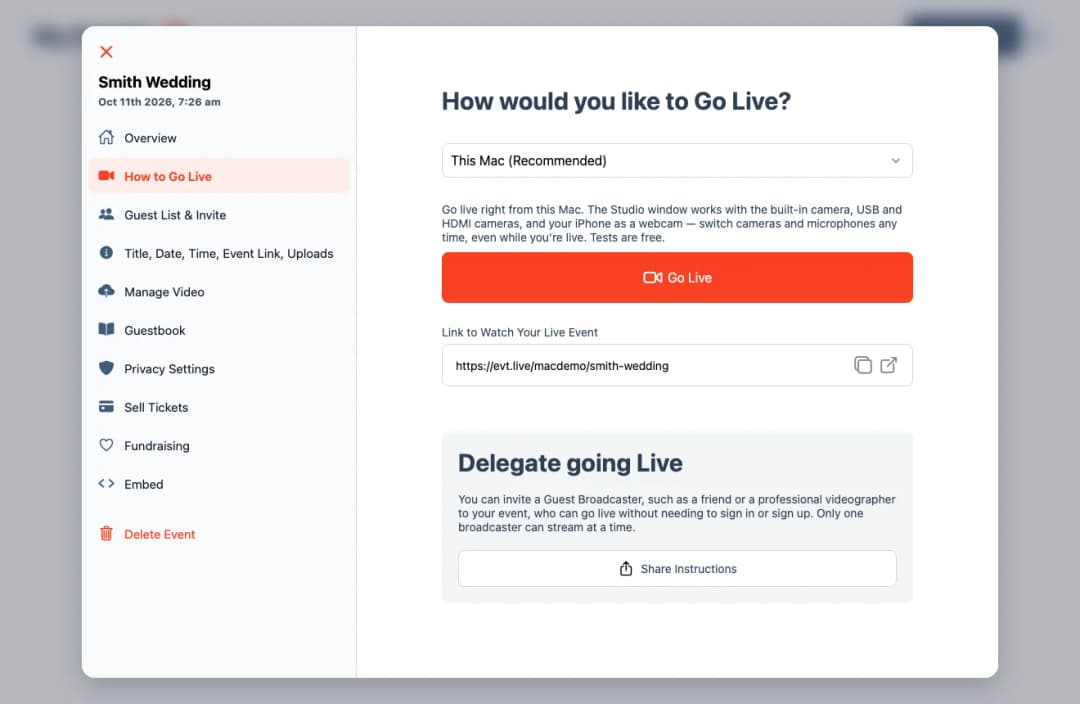
- Open your event and choose How to Go Live.
- Choose This Mac (Recommended) and click Go Live, or Test Live for a free test. The Studio window opens with your camera and microphone.
- The first time, click Allow when macOS asks whether EventLive may use the camera and microphone.
- Check the picture and the microphone level meter, then click Start Test (for a test event) or Start at the top right of the Studio.
- When the event is over, click Stop.
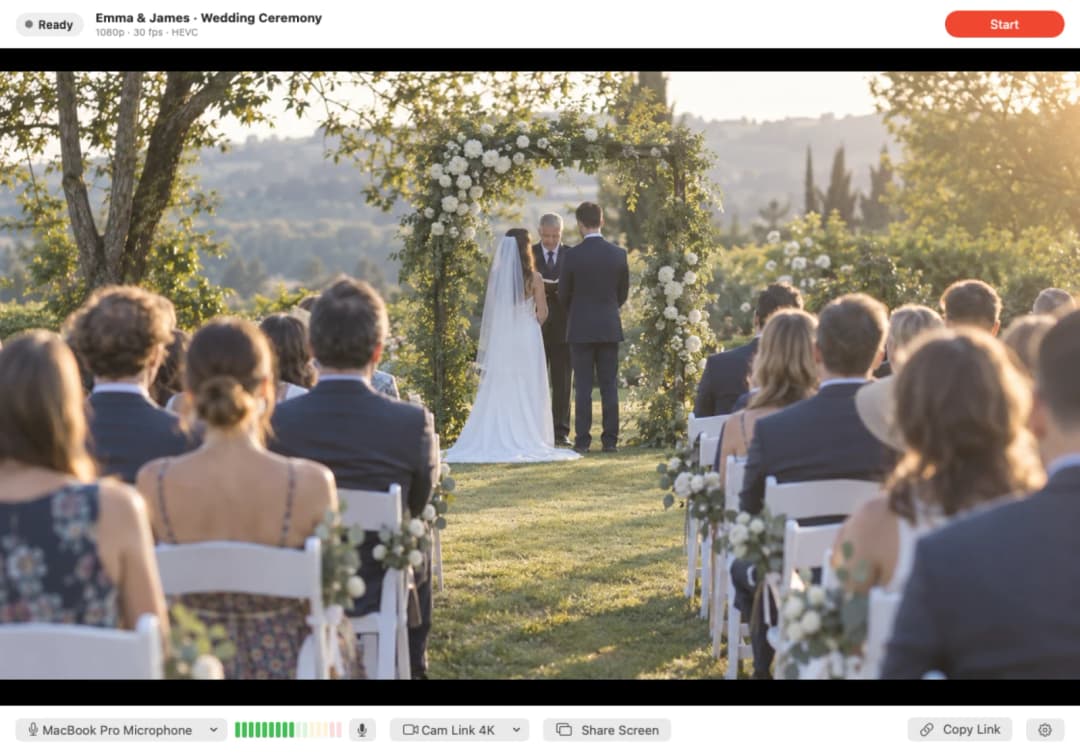
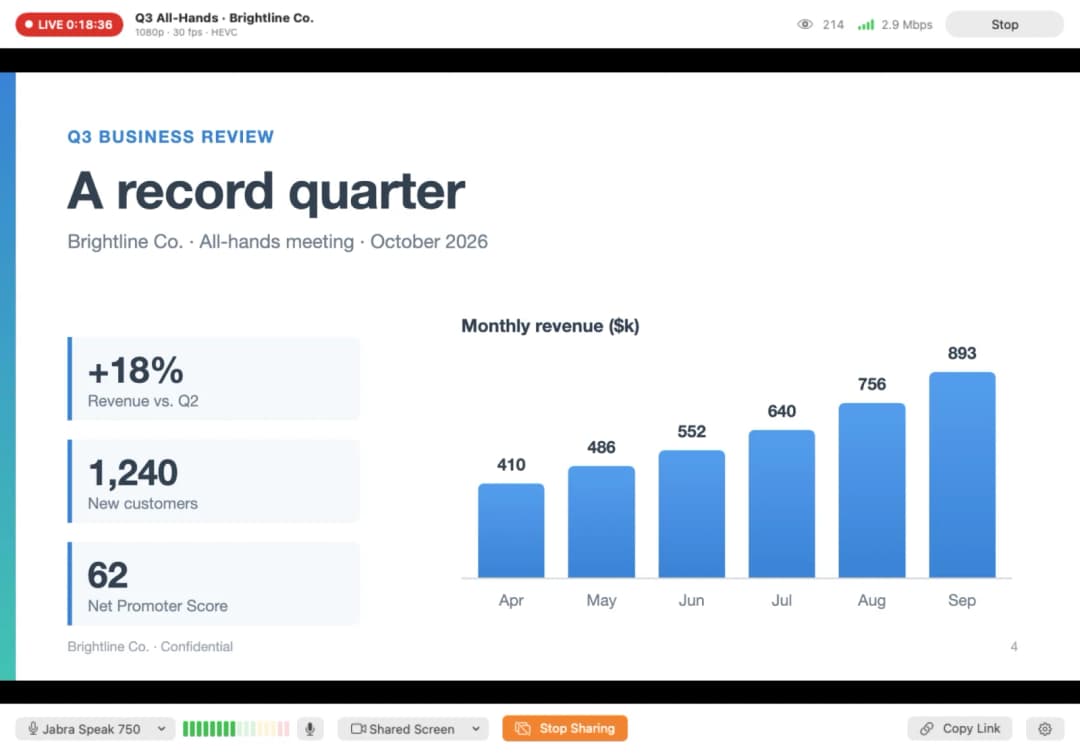
While you're live, the top of the Studio shows how long you've been live, how many people are watching and how fast your Mac is uploading. Copy Link copies the link to watch your event.
Before the day of your event, run a free test with the same cameras, microphone and internet connection you'll use.
Cameras
EventLive for Mac works with any camera your Mac recognizes:
- The built-in camera of a MacBook or iMac, or a Studio Display.
- USB webcams.
- Professional cameras (DSLR, mirrorless or camcorder) through an HDMI capture device such as the Elgato Cam Link. Turn on clean HDMI output first: see how to enable HDMI output on a camera. Some cameras also work as a USB webcam with the manufacturer's webcam software.
- ATEM Mini or Blackmagic Web Presenter connected with a USB cable. It appears as a camera, so you can switch cameras on the ATEM and stream its program from your Mac.
- Your iPhone, with Continuity Camera. It needs iOS 16 or later on an iPhone XR or newer, signed in to the same Apple Account as your Mac, with Wi-Fi and Bluetooth on. Mount the iPhone on a stand or tripod near your Mac.
To switch cameras, click the camera menu at the bottom of the Studio (it shows the name of the current camera) and choose another one. You can switch at any time, even while you're live. EventLive gets the new camera ready before it switches, so viewers never see a black frame, even when the cameras have different resolutions or frame rates. Keyboard shortcuts: ⌘1 to ⌘9 choose a camera, and ⇧⌘N switches to the next one.
Click the gear button at the bottom right for Video Settings:
- Camera switch: Dissolve or Cut.
- Framing: Automatic, Fill frame (crop) or Show whole picture.
- Switch cameras automatically if one disconnects: on by default.
- Mirror my preview: viewers always see the real, un-mirrored picture.
For several cameras on one event, see how to use multiple cameras.
Microphones
Click the microphone menu (it shows the name of the current microphone) and choose:
- Same as System, which follows the input selected in your Mac's Sound settings, or
- any connected microphone: built-in, USB or Bluetooth, or an audio interface or mixer.
You can change the microphone while you're live. The level meter shows what viewers hear. Click the microphone button next to the meter to mute or unmute (⇧⌘A). It turns red while you're muted.
For better sound, see how to improve audio quality.
Share your screen
- Click Share Screen and choose a display, a window or an app.
- Viewers see the whole shared picture, never cropped. The camera menu shows Shared Screen while you share.
- Click Stop Sharing to go back to your camera.
Use it to show PowerPoint or Keynote slides, a photo slideshow or a video. Close private windows and turn off notifications before you share. Sharing your Mac's sound isn't available yet, so to play music or a video's sound, play it through a speaker near your microphone and check it in your test.
Keep a backup copy
Record a copy on this Mac in Video Settings is on by default. While you're live, EventLive saves a high-quality copy in your Movies › EventLive folder, and REC shows at the top of the Studio. The copy keeps recording even if your internet drops, so you have the whole event even if part of the online replay is missing.
A 1080p copy uses about 4.5 GB per hour. If your Mac has less than 3 GB free, EventLive streams without saving a copy and tells you so.
If the replay is missing footage, see how to find missing recordings.
Picture quality and internet
EventLive for Mac streams in 1080p Full HD. It sends efficient HEVC video, which looks sharp at under 3 Mbps, and adjusts the quality automatically when your upload speed changes, so viewers keep watching instead of buffering. An upload speed of 3 Mbps or more is best for 1080p. On a slower connection, you can choose 720p HD under Stream quality in Video Settings before you go live.
Use a wired (Ethernet) connection where you can. See how to resolve poor signal issues.
Updates
EventLive for Mac checks for updates once a day and asks before it installs one. To check yourself, choose EventLive › Check for Updates…. It never updates while you're live.
Using the iPad version on your Mac?
Macs with Apple silicon can install the iPad version of the EventLive app from the App Store. EventLive for Mac replaces it: external cameras, microphones and screen sharing work properly. Your account and events stay the same, so you can delete the iPad version.
Troubleshooting
- No camera or microphone: open System Settings › Privacy & Security › Camera (or Microphone), turn on EventLive, then go back to the Studio. If a USB camera or capture device still doesn't appear, unplug it and plug it in again.
- Your iPhone isn't in the camera menu: check the Continuity Camera requirements above, and that Continuity Camera is on in the iPhone's Settings › General › AirPlay & Continuity (AirPlay & Handoff on older iOS versions).
- No picture from a capture device: check that the camera is on, in video mode, with HDMI output on, and try another cable.
- Viewers see buffering: see how to resolve poor signal issues.
- Anything else: choose Help › Contact Support… in EventLive for Mac. Support may ask for the stream logs: choose Help › Show Stream Logs in Finder.
Windows computers
EventLive for Mac is only for Macs. On a Windows computer, use OBS Studio or another RTMP encoder.