

In a world where distance often separates us, virtual events have become a powerful way to stay connected. Whether it’s a conference, a corporate meeting, or a memorial service, virtual events bring people together when being in the same place isn’t possible. The right tools make all the difference, and that’s where different solutions shine, helping anyone share meaningful moments without hassle.
This guide walks you step-by-step through how to plan, set up, and host an online event that feels real, personal, and professional. You’ll learn what equipment you need, which platforms and apps to consider, and how to create a seamless experience for your audience.
What Is a Virtual Event and Why It Matters
A virtual event is any organized gathering that takes place online rather than in person. It can be live or pre-recorded, intimate or large-scale, public or private. Examples include:
- Corporate webinars and conferences
- Online workshops or concerts
- Hybrid events combining live and remote participation
- Virtual weddings or memorials
The reason virtual events are so important today is simple: they remove barriers. They eliminate travel costs, time zone issues, and venue limitations. More importantly, they allow you to connect with anyone, anywhere, at any moment.
Think of a grandmother attending her granddaughter’s wedding across the ocean, or friends sharing a farewell service from another continent. Virtual events give everyone a front-row seat to life’s most personal moments.
Step 1: Define the Purpose and Audience
Before turning on the camera, it’s crucial to understand why you’re hosting a virtual event. Ask yourself:
- What is the main goal of the event? Celebration, education, remembrance, or networking?
- Who is your audience? Family, coworkers, clients, or the public?
- What experience do you want viewers to have? Intimate, interactive, or broadcast-style?
Your answers will guide all the decisions that follow, from choosing a platform to selecting your camera setup.
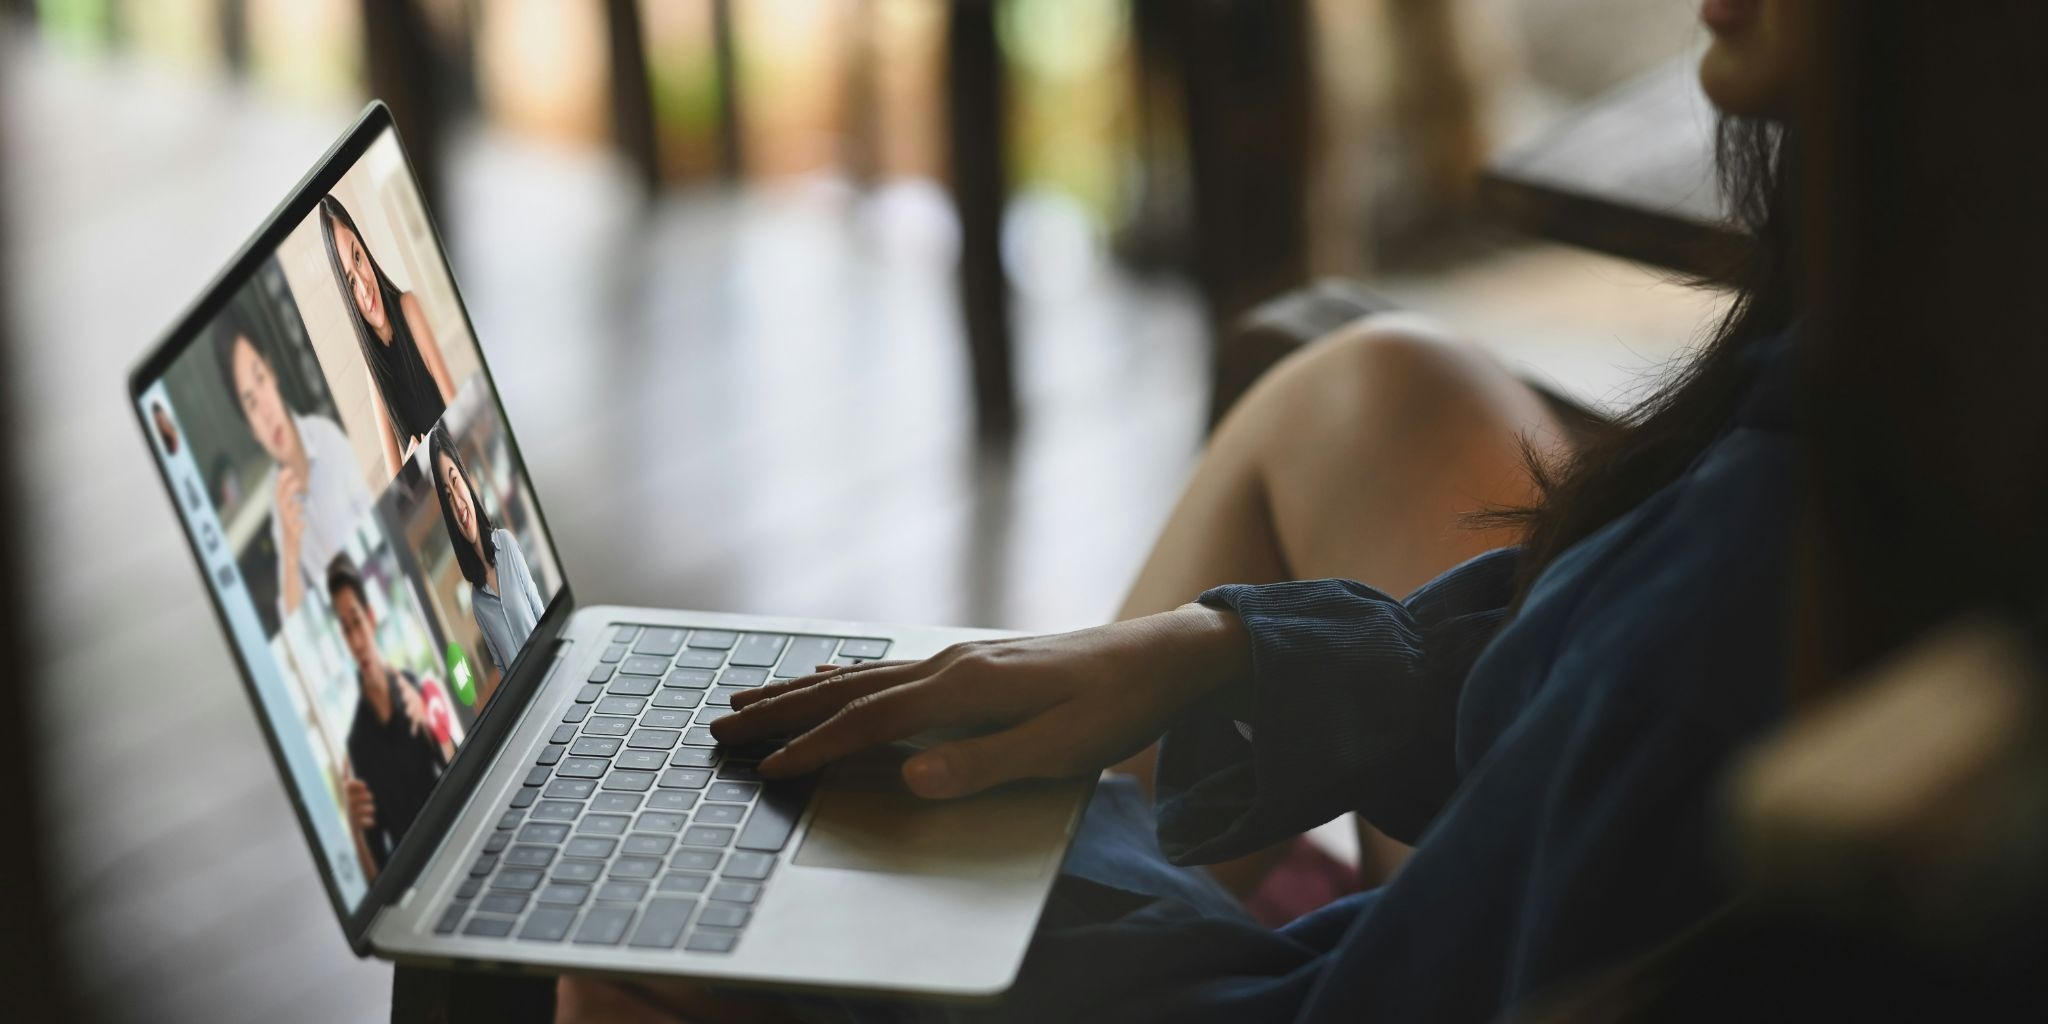
Step 2: Choose the Right Virtual Event Platform
The platform is where the magic happens. It’s the digital venue for your event, the space where viewers gather, chat, and share experiences.
Recommended Virtual Event Platforms
- Zoom – Ideal for meetings and small team events, though it can be limited in video quality and viewer capacity.
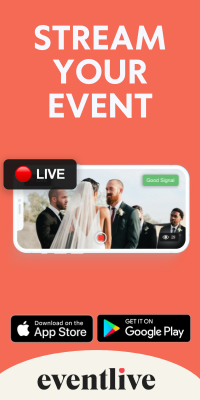
- EventLive – A simple, private live streaming app and platform perfect for conferences, concerts, sporting events and any other private events. It allows pay-per-view, password-protected access, and unlimited viewers. You can schedule, stream, and share with just a smartphone or professional set up.
- YouTube Live – A public streaming platform with strong reach, but limited privacy controls.
If privacy, simplicity, and emotional connection matter to you, EventLive is the best option. It doesn’t require technical skills, and setup takes just minutes. Plus, you can charge admission or accept contributions directly through pay-per-view events, something most platforms don’t offer.
Step 3: Plan the Event Logistics
Even online, organization is everything. Successful virtual events flow smoothly because they follow a plan.
Create a Timeline
A clear schedule keeps you on track:
- One month before – Choose your platform, decide on event length, and invite participants.
- One week before – Test your internet speed, microphone, and camera setup.
- One day before – Rehearse the live stream, confirm backups, and share the stream link.
- Day of event – Go live at least 10 minutes early. Have someone monitor the chat or technical issues.
Send an Inviting Message
Because virtual events rely on digital communication, your invites are crucial. Make them warm and personal:
- The event purpose and emotional meaning
- Clear instructions or links
- Local time zone adjustments
- A short note like “Your presence means everything, even from afar.”
Step 4: Set Up the Right Equipment
Your equipment doesn’t have to be expensive. The goal is a clean, steady, and clear setup.
Basic Virtual Event Equipment List
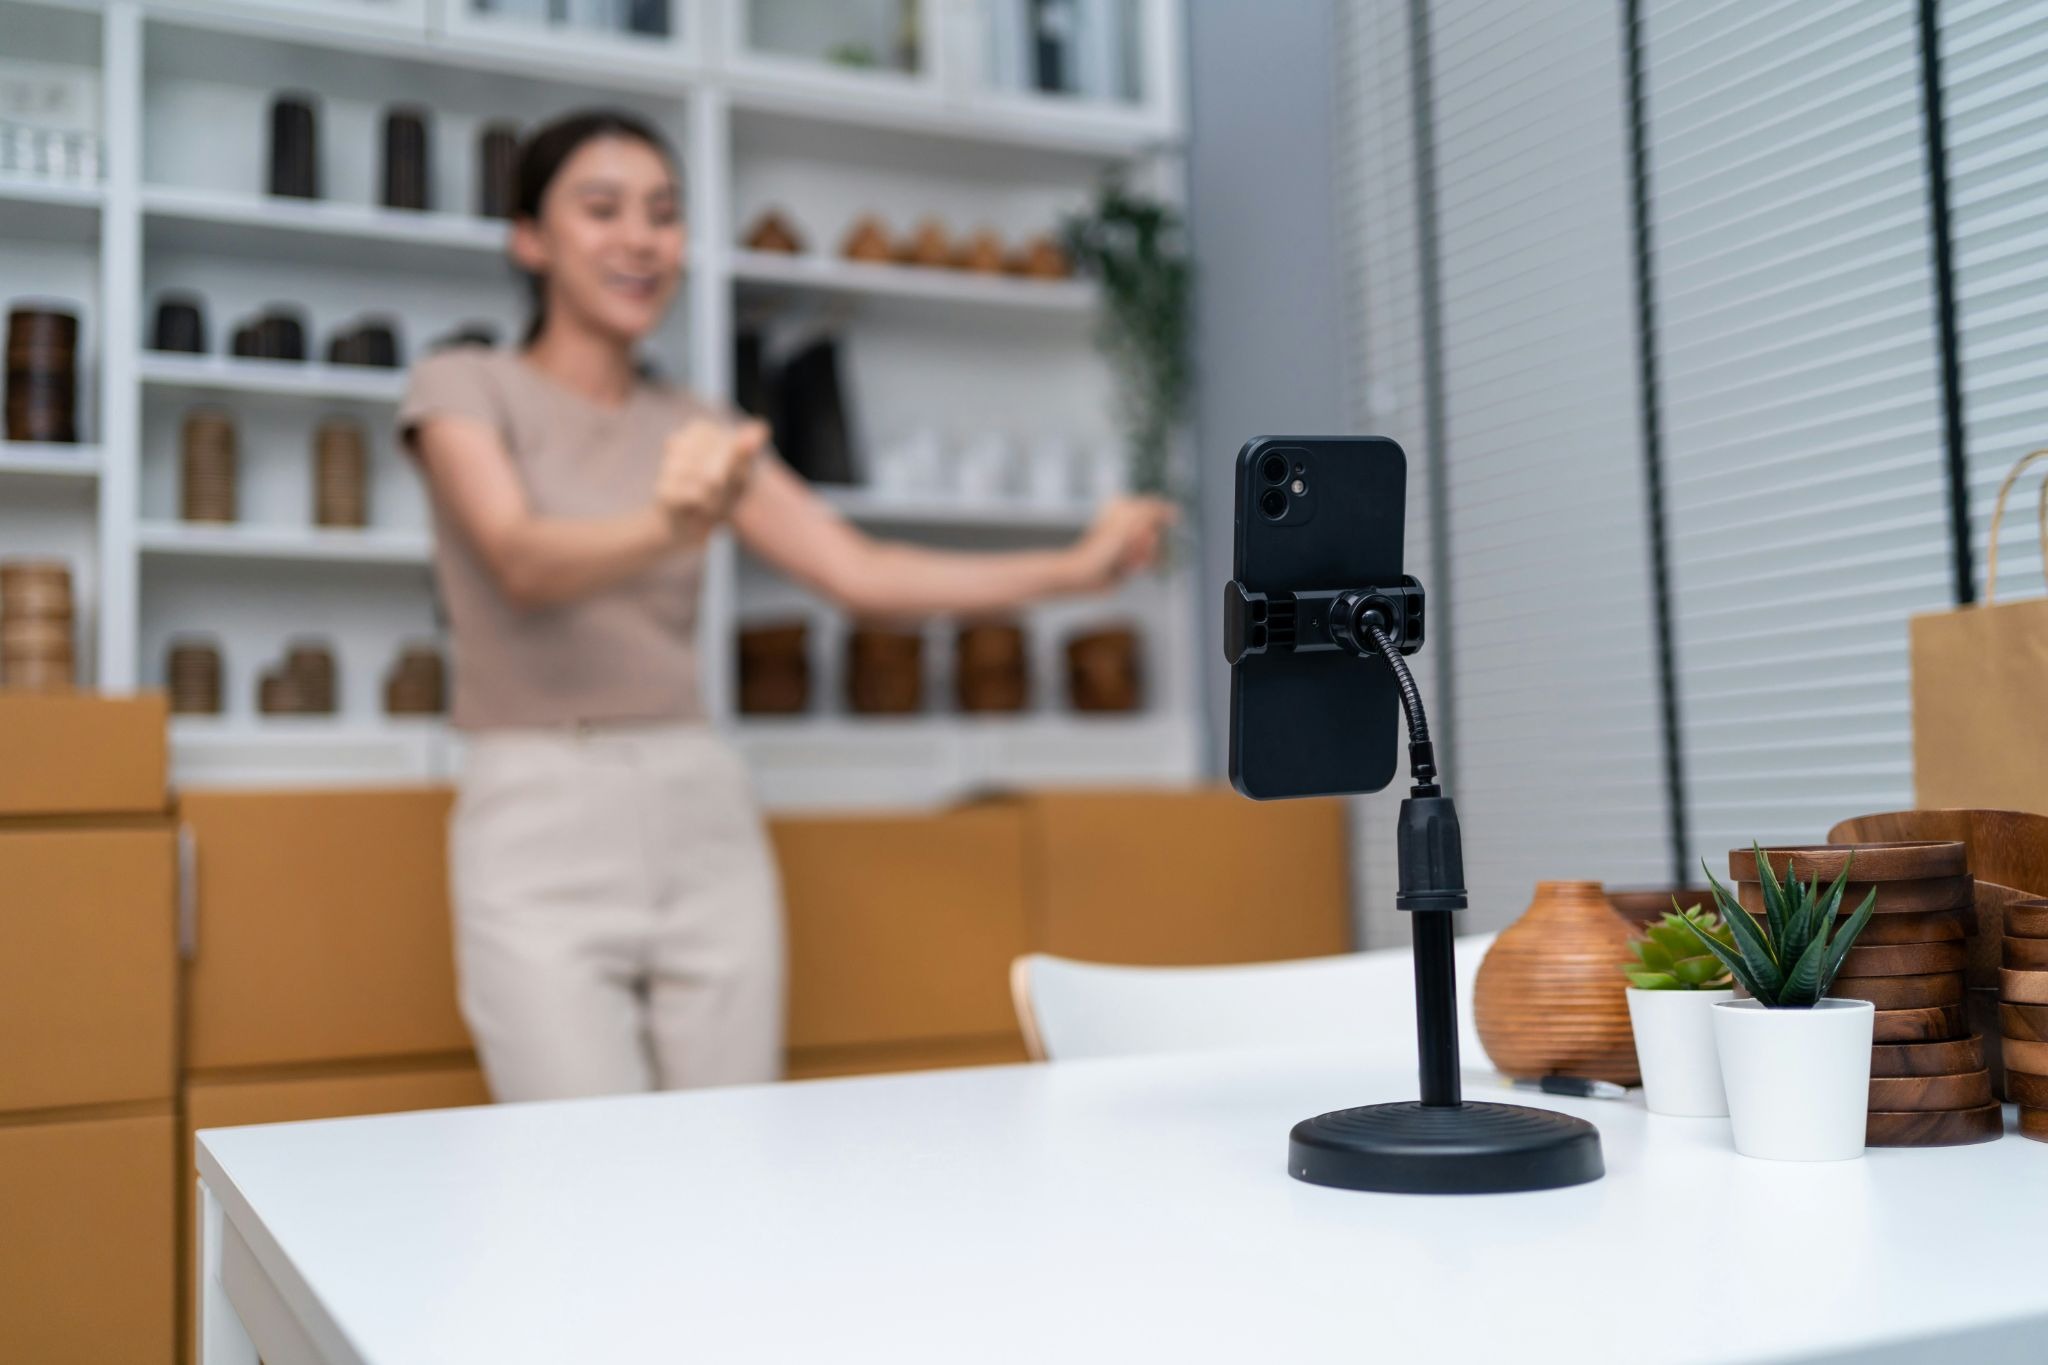
- Camera or Smartphone: A quality smartphone camera is often enough. For more detail, use a DSLR or mirrorless camera.
- Tripod: Keeps the image steady. No one wants shaky footage during a ceremony.
- Microphone: External mics like the Rode Wireless GO II or Blue Yeti drastically improve sound clarity.
- Lighting: Good lighting can change the entire mood. Place light sources behind the camera to illuminate faces evenly.
- Internet Connection: Use a stable wired or high-speed Wi-Fi connection. Run a quick speed test, aim for upload speeds above 5 Mbps for HD streaming.
Pro-tip: EventLive streams directly from your smartphone with automatic quality adjustments, so you don’t have to worry about bitrate or encoding settings.
Step 5: Design the Virtual Experience
Beyond the stream itself, the event’s design determines how connected people feel.
Elements to Include
- Intro slide or countdown: Builds anticipation before going live.
- Chat or message board: Encourages guests to interact.
- Digital guestbook: Let viewers leave notes or reactions.
- Music or transitions: Keep energy flowing naturally.
- Visual branding: Add logos or banners for professionalism.
For personal events like weddings or memorials, keeping it intimate is better. For business or entertainment events, consider multiple cameras or overlays.
Step 6: Rehearse and Test Everything
Always do a full technical test. Host a short practice stream with a friend and gather feedback. Check:
- Audio levels (no distortion or echo)
- Camera framing (subjects centered and well-lit)
- Stable connection (no dropped frames)
- Platform links (easy for guests to access)
Step 7: Go Live and Engage
When the moment arrives, take a breath and press “Go Live” Remember: authenticity beats perfection.
Engagement Tips
- Greet viewers warmly as they join.
- Mention locations: “We’ve got viewers from New York, California, and Chile joining us!”
- Read a few comments or names aloud, it makes guests feel seen.
- Have someone behind the scenes moderating the chat or switching scenes if needed.
Step 8: Manage Pay-Per-View or Private Access
If your goal is to monetize or control access, a pay-per-view setup is perfect.
With EventLive, you can:
- Set ticket prices for viewers
- Offer free access to select guests
- Manage payments seamlessly through the platform
- Share a private viewing page
This feature is especially useful for event organizers, musicians, educators, or faith communities streaming services. It’s a way to support your event’s costs while keeping it personal and secure.
Step 9: Evaluate and Improve
After the event, reflect on what worked and what could improve.
Ask questions like:
- How was viewer participation?
- Did the audio and video remain stable?
- Was the platform easy to use for guests?
- Would I use the same setup again?
Best Practices for Hosting Virtual Events
Here are some universal habits of successful virtual hosts:
- Keep sessions short and focused.
- Use simple language and clear visuals.
- Start and end on time.
- Provide replay links for guests who miss the live broadcast.
- Offer multiple ways to engage: comments, polls, or Q&A.
- Test your audio more than once. Audio issues are the most common problem in live streams.
Key Takeaways
- Virtual events remove physical barriers and bring people together worldwide.
- Preparation, testing, and the right tools ensure a flawless online experience.
- High-quality sound and lighting elevate even simple setups.
- Anyone can set up a live stream, even without technical expertise.
Frequently Asked Questions
1. What makes a virtual event successful?
A clear purpose, smooth technical execution, and emotional connection make a virtual event stand out.
2. Do I need expensive equipment?
No. A smartphone, tripod, and simple microphone are enough for most events.
3. Can I create a private event?
Yes. EventLive allows password-protected streams and private invitations.
4. Can viewers watch later if they miss the live stream?
Yes. Replays are available, and EventLive automatically saves broadcast recordings.
5. How long does it take to set up?
Most users can start streaming within 5 minutes of downloading the app.
Don’t let distance keep you from sharing life’s important moments.
.png)
