Whether you’re trying to reach a larger audience or strengthen the impact of your message, a live stream or webcast is the best way to get it done.
Not only more people will be exposed to the contents of the lesson, but they will also have the opportunity to pause and rewatch segments at will. This improves retention as viewers can go back and review important information before moving on to the next topic.
The main benefits are clear: Live streaming a lecture boosts attendance and increases accessibility. Students can watch it at their own convenience, during or after the event.
Lecturers, teachers, and universities alike can benefit from the simplicity of webcasting in 2023. Gone are the days in which you had to hire a streaming studio or professional videographers to get the job done.
Can you live stream a lecture, talk, or panel by yourself?
Without fear of being wrong, I can confidently say that you can do this even if you don’t have any video knowledge or streaming experience.
Since you’re either hosting a discussion panel, lecture, or talk, I will focus on the most important aspects of your event.
To get started, I want to give you a few recommendations:
- Display speaker details next to the video feed for easy access. If multiple speakers form a discussion panel, you can attach a file with their headshots, information, and topic titles
- Have the agenda ready so you can display it next to the webcast. It can be a simple PDF or a link to the event’s website
- Including relevant attachments for the alumni can make your content easier to understand, especially for anyone joining late to the virtual event
- You can embed the live stream on the organizers’ website, such as the faculty or organization, but it isn’t required. I will help you get this done at the end of this post.
What do you need to webcast a lecture or discussion panel?
The requirements are simple and the tools are very affordable.
1- The first thing you need will be a smartphone or tablet. You can use any iPhone, iPad, or Android device, as we will be using an app that works great on either platform.
Viewers won’t need the app to watch, and they don’t need to download anything at all. They will be able to access it with a single click on any device.
2- Then, you will need an inexpensive tripod to avoid an unstable image. This will be very appreciated by viewers at home. It will also free your hands as you can leave it alone during the event and focus on other important things.
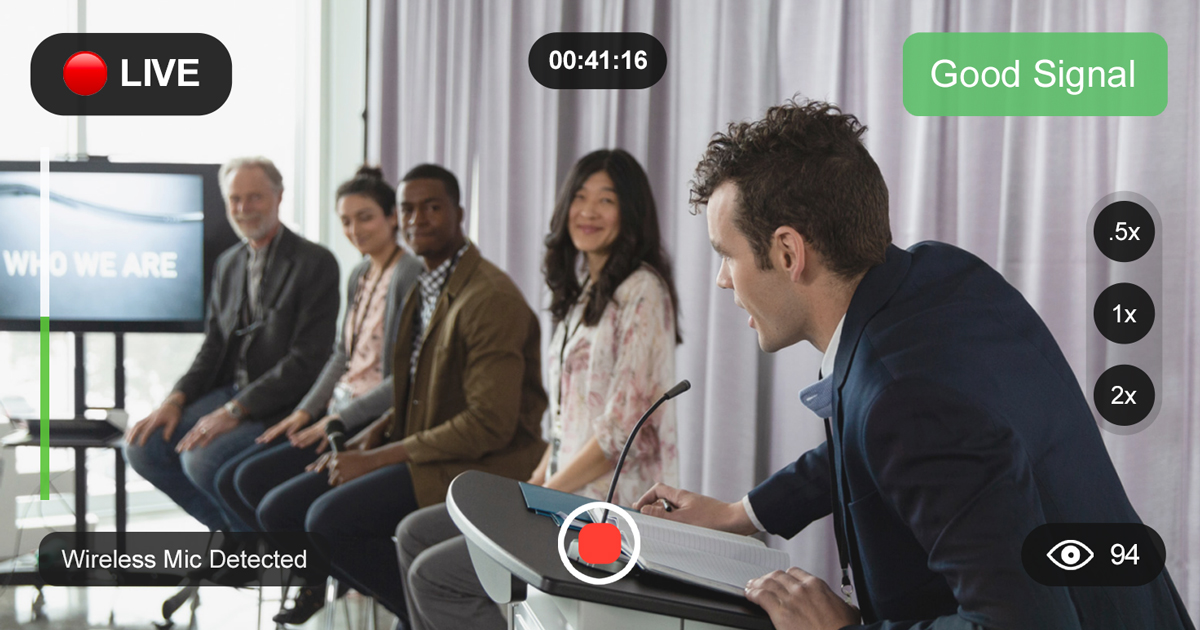
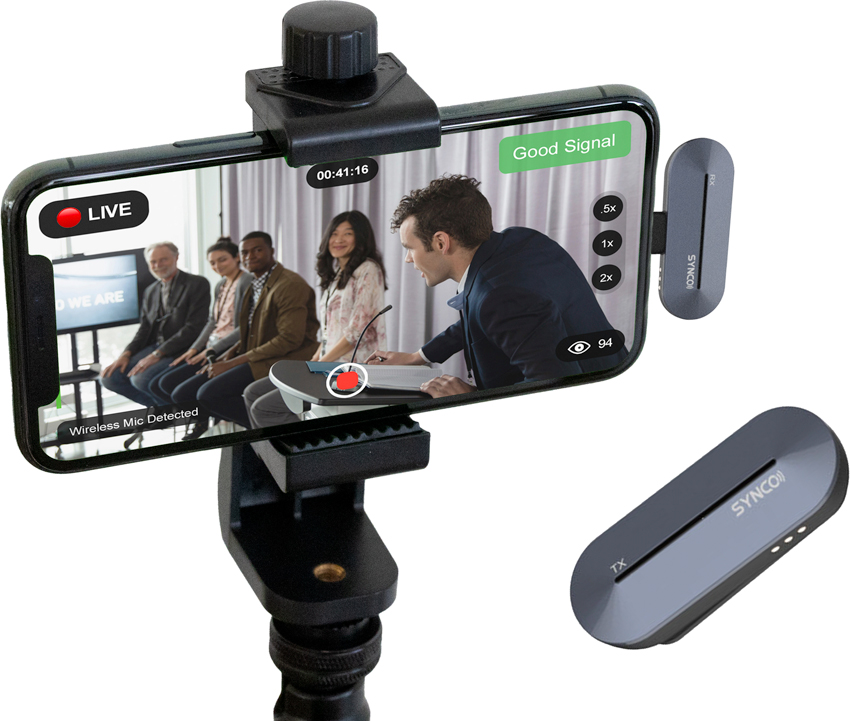
3- The last element of the kit is a wireless microphone, which is optional but recommended. Not all events require one, but this depends on your ability to place the live streaming phone as close as possible to the lecturer.
A wireless microphone costs around 75 US dollars and it greatly improves the quality of the live stream. The best part about this piece of equipment is that you can run a test and then see if you actually need it.
Here’s a wireless microphone with a Lightning Connector (iPhones) and one with a USB-C plug (Android and iPad).
How to webcast a lecture or panel discussion, step by step
I will guide you through the steps you need to take in order to guarantee a successful live stream. It will only take about 5 minutes of your time.
1. To get started, you have to choose and install a live streaming app.
In this tutorial, we’ll use EventLive. It is perfect for this purpose as viewers don’t need it to watch, and you can pause and resume the event as many times as you need. It also allows you to enter all the important information about the speaker or panelists, as well as PDFs and relevant links.
2. After creating a free account, go ahead and Schedule Your Event.
Don’t worry about setting up everything perfectly the first time, as you can always go back and change the details later.
3. On your Event Page, you can Test Live Streaming to see how simple it is. You can skip this step if you’re ready to tweak your event page to perfection.
Testing only takes a couple of minutes, and you can simply go live from your phone or tablet and see it live on any computer, with a small delay. This delay is common, and it allows the live streaming platform to optimize the viewing experience for viewers at home.
4. Customize your event by uploading all the relevant information you want viewers to see:
- Use the Pinned Message to enter a welcome note or details regarding the lecturer
- Upload an event image that attendees will see before the event starts
- Activate the chat feature if you want the alumni to be able to ask questions and interact with each other. This is perfect to create a Q&A that can be addressed toward the end of the session
- Add a PDF with the event program or topics discussed within the lecture or panel
- Incorporate faculty or survey links at the bottom of the event page
5. It’s time to invite everybody to the lecture, talk or panel discussion.
EventLive allows you to do this by simply sharing a private link, or by adding their emails to an invitee list. There are ways to expand your reach even further, such as distributing the event link in email newsletters,
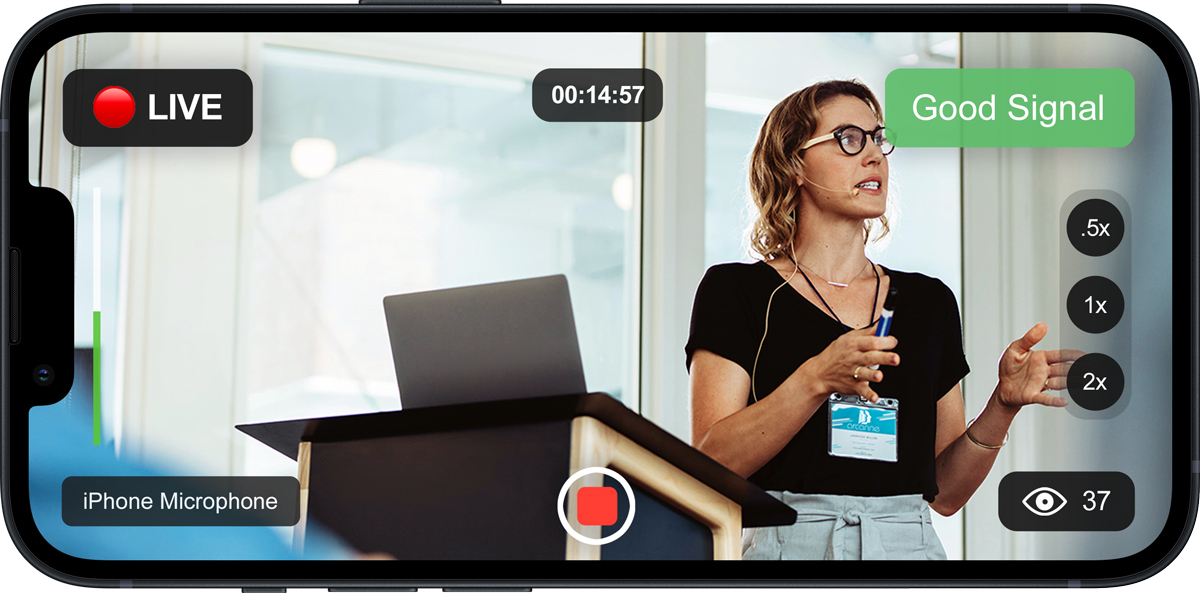
6. About ten minutes before the event starts, set up the smartphone on a tripod in a position where the lectern or discussion panelists can be clearly seen. You can test your audio by opening the app and checking the Audio levels (a green bar) on the left side.
If you have a wireless microphone, this is the right moment to connect it, turn it on, and place the transmitter as close to the speaker as possible.
Press the Go Live button and tap the rec button when you're good to go. Viewers will be notified immediately, but I recommend you wait a few minutes before starting the actual event.
7. After the closing remarks offered by the moderator or the closing statement from the lecturer, it is time to end the live stream. You can press the record button again and Stop the live stream as prompted by the app.
It will be automatically saved into the smartphone and will be stored online with flexible storage options up to 10 years. Students or attendees can watch a replay unless you decide to make it private from the event settings. Please be aware that replays usually serve a purpose during faculty lectures as they can help alumni aid memory recall and provide note-taking support.
If needed, you can implement limitations to the replay by adding a password to it, even after the event ends.
Wrapping up
No matter how complex your event might seem at first, there's always an easy way to broadcast it live. You could do this in an auditorium full of people, or in a room with just a lectern and a board or screen behind.
Using simple tools such as a smartphone and an app that does the heavy lifting for you, all you need to focus on is getting the streaming device in the right spot to capture the lecturer and clear audio. EventLive will automatically create the event page for you, and after customizing it, all you should do is invite everyone.